
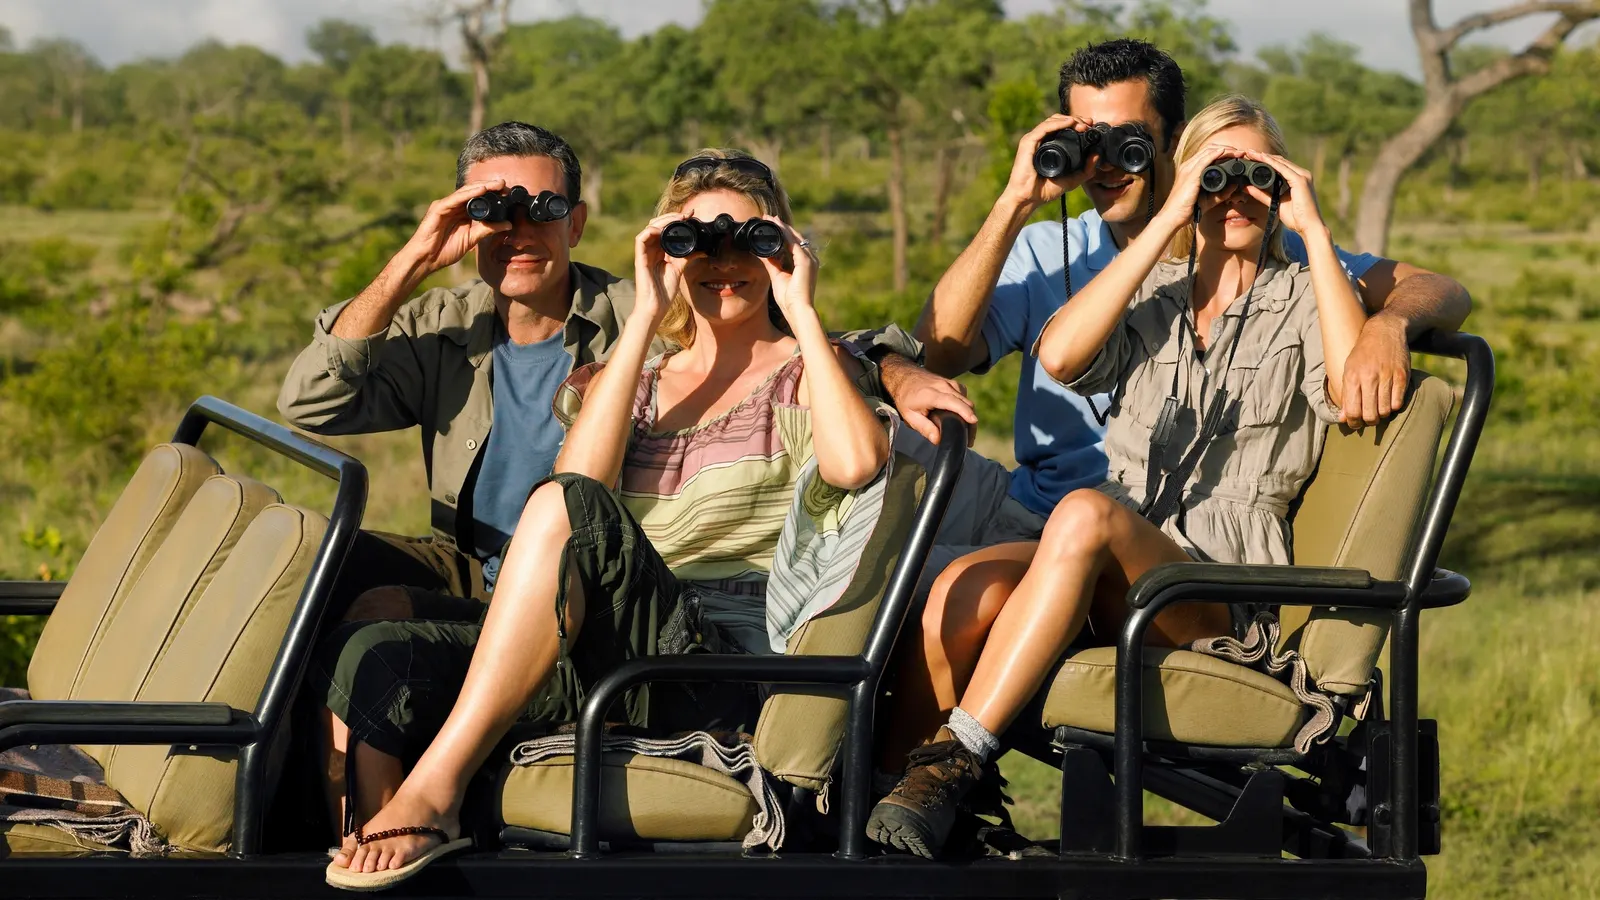

A good pair of binoculars changes a Tanzania safari more than almost any other piece of gear. The camera records what you saw, but binoculars decide how much you see in the first place. A leopard resting in the fork of a sausage tree, a pride of lions on a distant kopje, a tiny sunbird working a flowering aloe: all of these are far more rewarding when you can bring them close without moving the safari vehicle.
This guide is for first-time safari goers, keen birders and families deciding how many pairs to bring. It covers magnification, lens size, optics, eye relief, weight and care, and then moves on to how to actually use binoculars from a moving vehicle in Serengeti National Park, Tarangire National Park, Ngorongoro Crater and beyond. We avoid brand names and prices on purpose, because models change quickly while the principles stay the same.
Magnification and field of view
Binoculars carry two numbers, such as 8x42 or 10x42. The first is magnification: an 8x pair makes a subject look eight times closer. The second is the objective lens diameter in millimetres, which controls how much light enters. Most safari buyers ask whether 8x42 or 10x42 is better, and for a first pair, 8x42 binoculars are the safest answer.
The reason is field of view. Higher magnification narrows the circle you see, so finding a moving animal becomes harder, and every tremor of your hands is amplified too. An 8x pair gives a wide, steady, forgiving image, which matters when you are scanning grassland for a cheetah or following a flock of quelea across the sky. A 10x42 pair brings birds and distant predators slightly closer and suits people with steady hands or those who will often brace against something solid.
Anything above 10x is usually a mistake on safari. A 12x or 15x pair looks impressive in the shop, but on a vibrating vehicle the image dances, the field of view is tight and the glass is heavy. Large magnification belongs on a tripod, not in a safari vehicle. If you are still undecided, compare how wide the view is in degrees or metres at one thousand metres, which manufacturers usually print on the barrel or the box.
Objective lens size, light gathering and exit pupil
The objective lens is the large front glass. A bigger one gathers more light, which helps at dawn and dusk, when many predators are active and when the best light for wildlife viewing happens. A 42 mm lens is the common sweet spot. A 32 mm pair is lighter and smaller, while a 50 mm pair is brighter but bulky.
Exit pupil is simply the objective diameter divided by the magnification. An 8x42 pair has an exit pupil of about 5.25 mm, and a 10x42 about 4.2 mm. The larger the exit pupil, the brighter the image looks in low light and the easier it is to keep your eye in the right place while the vehicle moves. In bright midday sun your own pupil shrinks to around two or three millimetres, so any exit pupil is enough, but on an early morning game drive an 8x42 pair feels noticeably more comfortable.
Brightness also depends on lens coatings. Look for terms such as fully multi-coated, which means every glass surface carries several anti-reflective layers. Good coatings improve contrast, reduce glare and give truer colour, helpful when you are telling a lilac-breasted roller from its relatives. Phase correction coatings on roof prism models sharpen the image further.
Prism type, build and weatherproofing
There are two main prism designs. Roof prism binoculars have straight barrels, are slim and tough, and dominate the market for travel. Porro prism binoculars have the classic zig-zag shape, are often cheaper for the same optical quality and give a slightly deeper sense of depth, but they are bulkier. For a safari, either can work, though most travellers prefer the compact feel of roof prism models.
Dust, rain and humidity are the real tests. Choose binoculars that are advertised as waterproof and fog-proof. These are sealed with O-rings and filled with dry nitrogen or argon gas so that moisture cannot condense inside when you move from an air-conditioned lodge into a humid morning. Rubber armour protects against knocks, and it gives a surer grip when your hands are dusty.
Price tiers can be described in general terms. Entry level pairs are fine for casual use but may have narrow sweet spots and weaker coatings. Mid-range binoculars offer the best value for most visitors, with decent glass, sealed bodies and comfortable focus. High-end binoculars add exceptional contrast, edge sharpness and durability, and they reward people who will use them for years. Spend where it helps most: good glass in a lighter body is better than a heavy pair with every feature.
Eye relief, glasses and comfort
Eye relief is the distance you can hold your eye from the eyepiece while still seeing the full image. People who wear glasses need at least 15 mm, and ideally 16 to 18 mm, otherwise the edge of the view is cut off in a black ring. Twist-up or fold-down eyecups let glasses wearers push the rubber down and sit closer.
Weight matters more than most buyers expect. A full-size pair weighs between 600 and 900 grams, and after a full day on safari in Tanzania that adds up. A compact pair, often 8x25 or 10x25, is much lighter and fits in a pocket, but it gathers less light and has a smaller exit pupil, so it can disappoint at dusk. If you must choose one pair, choose full-size 8x42 and accept the extra weight.
A neck strap is the standard carrying method, but a long day can strain the neck. A harness that spreads the weight across both shoulders is more comfortable, especially for heavier binoculars. Whichever you pick, keep the strap short enough that the binoculars do not swing into the vehicle door or the roof hatch when you stand to look.
Setting up: diopter, IPD and focus
Many travellers use binoculars for a whole trip without adjusting them properly. It takes two minutes. First, fold the barrels until the two circles of view merge into one. This sets the interpupillary distance, or IPD, which is the gap between your eyes. Second, set the diopter, which compensates for any difference between your two eyes. Close your right eye, focus on a distant object using the central focus wheel with your left eye, then close your left eye and turn only the diopter ring until the same object is sharp for your right.
Close focus is another useful specification. Some binoculars focus down to around two metres, which is excellent for butterflies, chameleons and dragonflies at the lodge. Others need five metres or more. A short close focus distance is a quiet pleasure on safari, because so much interest happens at ground level, near the vehicle and around camp.
Birding and big game, different habits
On a Tanzania safari the same pair must handle large mammals and small birds. Elephants, lions and wildebeest are easy. Birds are more demanding. In the northern circuit you are likely to meet the lilac-breasted roller, with its turquoise and lilac plumage, perched on dead branches along the road. The secretary bird strides over the Serengeti plains hunting snakes, and the ostrich, the largest living bird, is easy to spot but worth watching for its courtship dance.
Lake Manyara and Lake Natron are known for flamingos, and a steady pair of binoculars reveals the difference between greater and lesser flamingos by bill colour. The African fish eagle, with its white head and ringing call, patrols lakes and rivers, and the many hornbills, including the southern ground hornbill and the red-billed hornbill, are fascinating when you see their eyelashes and casques up close. Keen birders often add a small field guide or a bird checklist app to the kit.
For big game, 8x is usually enough. For birds, many enthusiasts go to 10x for the extra detail, provided the glass is bright and stable. Both approaches work. What matters most is that you can raise the binoculars, find the subject and lock on without fuss.
Using binoculars from a safari vehicle
A safari vehicle is a shaky platform, particularly when the engine runs. The best habit is to switch the engine off at a sighting, which also cuts vibration. Then rest your elbows on the roof or the window frame, or place a bean bag on the roof rail and rest the binoculars gently on it. Never press the barrels against metal that vibrates, because that transmits tremor rather than removing it.
Image stabilised binoculars use a small gyroscope or motor to cancel hand shake at the push of a button. They are excellent at 10x and above, but they cost more, weigh more and need batteries, which means remembering to charge them. For most visitors, good technique and an 8x42 pair give a similar result without the complexity.
Scanning efficiently is a learned skill. Look first with your naked eyes for movement, shapes and colours that do not belong. Raise the binoculars slowly, with both eyes open, and sweep in overlapping lines from left to right, like reading a page. Pay attention to the base of trees, shade under bushes and the tops of termite mounds. Ask your guide to give directions using clock positions or landmarks, such as three o'clock at the dead tree, so everyone finds the animal quickly.
Night drives, where permitted outside the main national parks, call for bright glass and a good torch with a red filter. An 8x42 or 7x50 pair helps in low light, but at night the spotlight does most of the work, and your binoculars simply add detail to eyeshine. Avoid shining bright light at animals for long periods.
Cameras, sharing and how many pairs
Binoculars and cameras work well together. Use the binoculars to find and check an animal, then lift the camera when the moment is right. Many photographers keep a pair around their neck on a harness and the camera on a bean bag, so neither interferes with the other. A telephoto lens is not a replacement for binoculars, because it is heavy, narrow and does not let you scan.
For couples and families, the ideal answer is one pair per person. In a vehicle with a pop-up roof, the best views are fleeting, and passing a single pair around means someone always misses the leopard. Children can enjoy lightweight compact binoculars, though avoid very cheap toy models, which have poor optics and can frustrate rather than inspire. Shared pairs are fine for casual travellers, but a keen birder will want their own.
Some lodges and camps lend binoculars, and a guide usually carries a spare, but quality varies, and they may not be adjusted for your eyes. Bringing your own pair means you know how it handles.
Care, cleaning and packing
Dust is the main enemy on dirt roads in Tanzania. Keep the objective caps and the rain guard on when you are not looking, and store the binoculars in a padded case or a zipped daypack inside the vehicle. Never wipe dust off with your sleeve, which can scratch the coatings. Blow loose grit away with a soft air blower, then brush gently with a lens brush, and only after that use a microfibre cloth with a drop of lens cleaner.
Avoid leaving binoculars in direct sun on the dashboard, in a hot car or in a wet bag. Silica gel packs in the case help in humid weather. If you travel with checked luggage, pack the binoculars in your carry-on bag, wrapped in soft clothing, since baggage handlers are not gentle. A good strap, a rain cover and a small cleaning kit complete the setup.
Common mistakes are easy to avoid. Buying too much magnification is the biggest. Others include ignoring eye relief if you wear glasses, forgetting to set the diopter, relying on the cheapest pair, leaving the lens caps on in a hurry, and packing binoculars in a bag that gets crushed. A little thought before the trip saves frustration later.
Planning your trip
Binoculars are only one part of a well-planned safari. The route, the season, the right camps and the pace of the days all shape how much wildlife you see and how well you see it. If you are weighing up where to go, when to travel and what to bring, the team at The Expedition Tours would be glad to talk it through with you and shape an itinerary around your interests, whether that means big cats, birdlife or simply a calm, well-paced journey. Get in touch and we can begin the conversation.
About The Expedition Tours
The Expedition Tours plans safaris, Kilimanjaro climbs and Zanzibar extensions from Arusha, Tanzania, built around each traveller.
See our routes →More Field Dispatches
All field notes →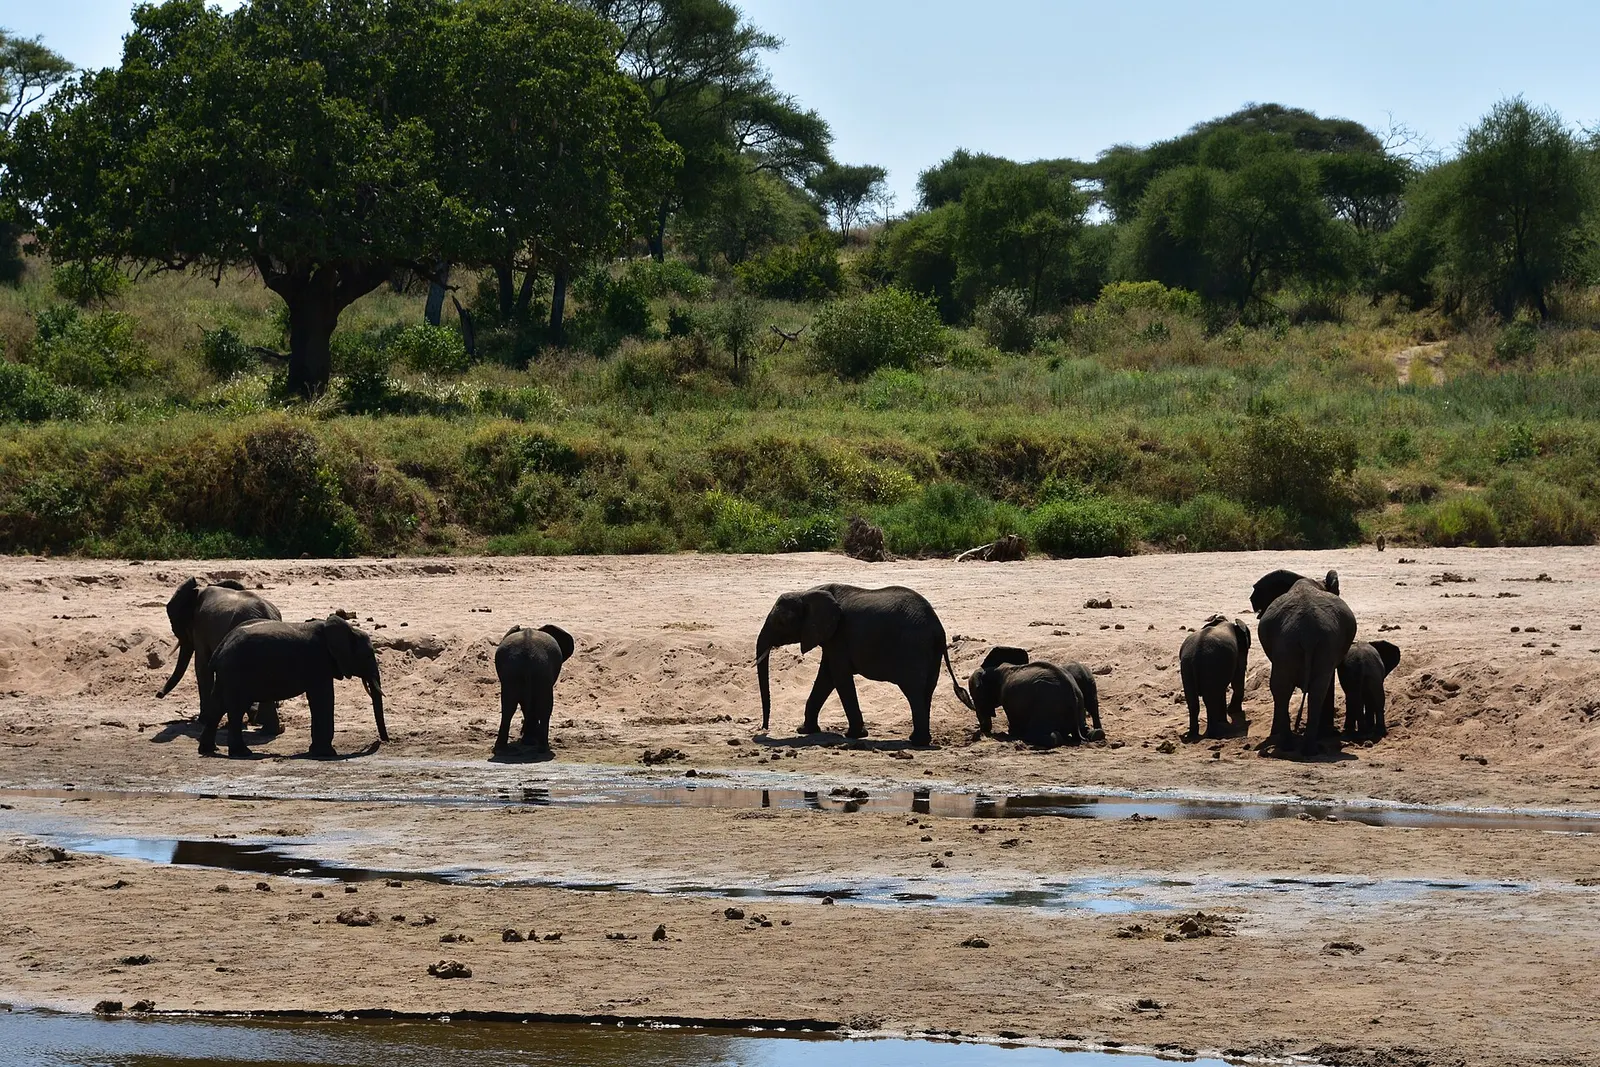
Walking Safaris in Tarangire: Reading Tracks and Signs on Foot
Plan a guided walking safari around Tarangire: how to read tracks, dung and bird alarm calls, what to wear, the best season and the rules that keep you safe.
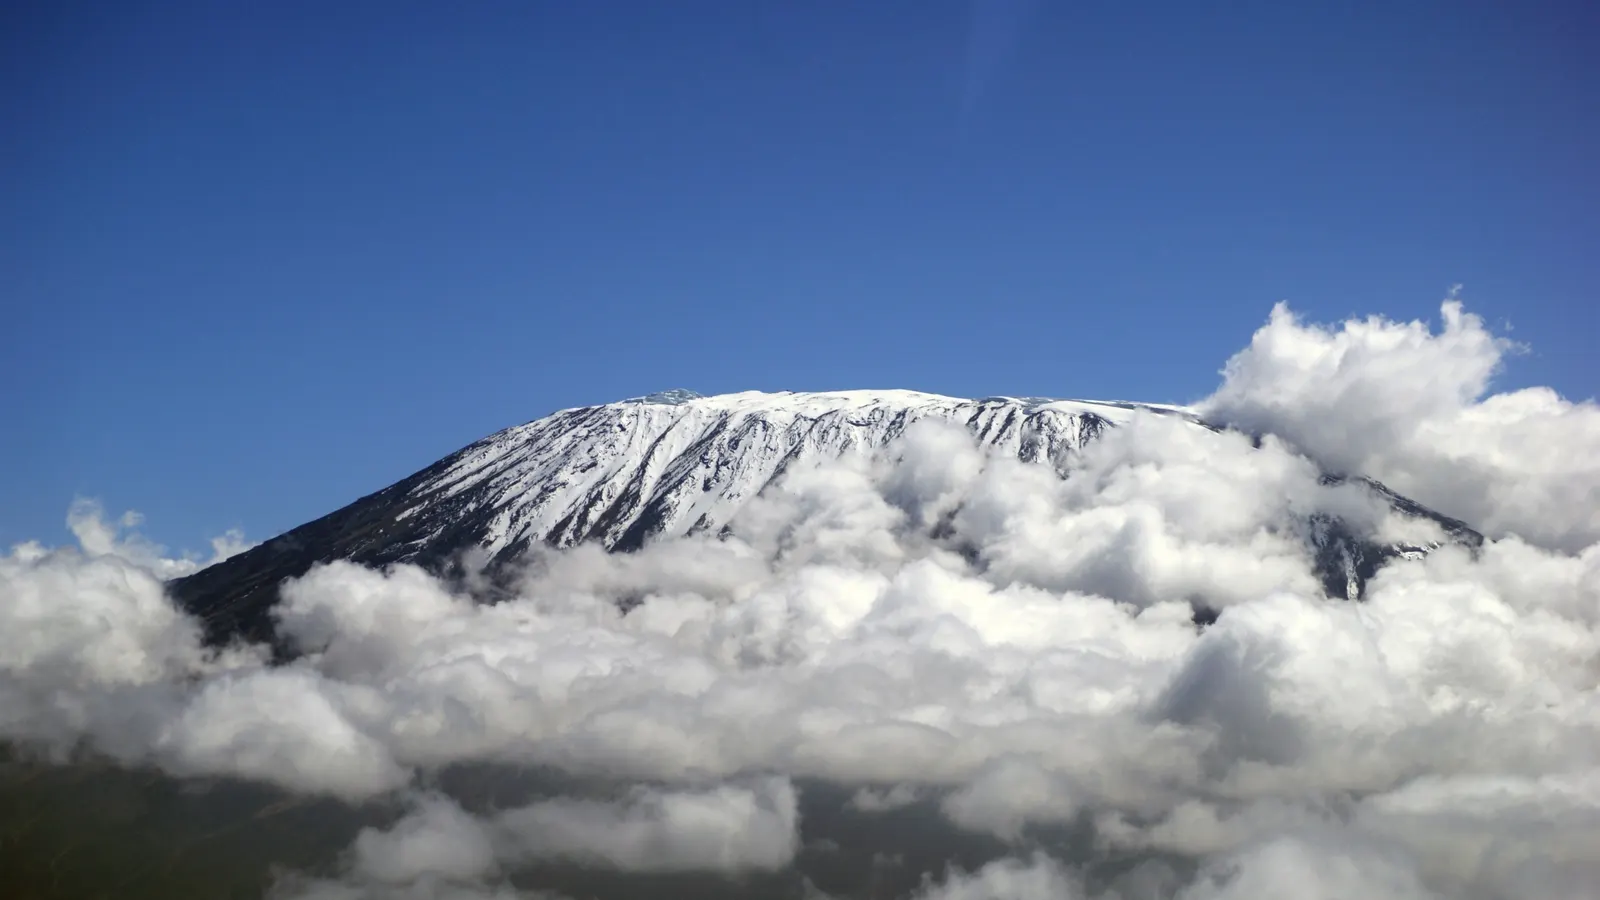
How Altitude Works on Kilimanjaro: Pacing the Lemosho Route
A plain-English guide to altitude on Kilimanjaro: acclimatisation, altitude sickness, pole pole, climate zones and how the Lemosho route helps you pace the climb.